


Rivets Not Flush? How to Set Microstop Countersink Depth
By the Wescon Engineering Team · Last updated October 18, 2026A countersunk rivet that is not flush has a countersink cut to the wrong depth. If the rivet head sits high (proud), the countersink is too shallow. If the head sits below the skin, the countersink is too deep. A microstop countersink cage controls countersink depth with an adjustable stop, so every hole in a row is cut to the same depth.
It is one of the most common problems in flush riveting, and the fix is usually simple. Adjust the microstop a click at a time and test on scrap pieces before countersinking the actual part. When the test rivet sits right, the cage holds that depth for the rest of the row.
The same applies to flush screws and other countersunk fasteners. A high fastener has the same cause as a high rivet head. The head should seat fully in the countersink and finish level with the surface.
Rivet head position against the skin surface (dashed line) at three countersink depths.
| What you see | Cause | Fix |
|---|---|---|
| High rivet head (proud) | Countersink or dimple too shallow | Go one click deeper and recheck with a rivet |
| Head below the skin | Countersink too deep | Set the microstop one click shallower and retest on scrap |
| Rivet flush or low before driving | Countersink slightly too deep | Set the rivet slightly high, driving it flush work hardens the skin |
| Head slipped after driving | Possible sheet or rivet failure | Remove the rivet for inspection |
Why flush seating matters
Flush seating affects joint strength, not only appearance. According to the FAA Airframe Handbook, “An improperly made countersink reduces the strength of a flush-riveted joint and may even cause failure of the sheet or the rivet head.”
Countersinking also concentrates stress. A NASA study found stress around a countersunk hole about 37 percent higher than around a plain hole. A countersink cut through the full skin thickness, called a knife edge, is linked to fatigue cracks in pressurized skins. Depth limits are set by the drawing or specification for the part.
High rivet head (proud)
A high rivet head, called proud in the shop, means the countersink is too shallow for the head, or the dimple is not deep enough. To fix it, increase the microstop depth one click at a time and check with a rivet after each change.
A rivet head that is already driven high can sometimes be cut down with a microshaver, but only on MS20426 head rivets. Shear head rivets must never be shaved.
Rivet head below the surface
A rivet head below the surface means the countersink was cut too deep. Before cutting the next hole, set the microstop shallower one click at a time and test on scrap until the rivet sits slightly high. The hole already cut cannot be fixed this way, because material removed by countersinking cannot be put back. Driving a rivet that already sits flush or low work hardens the skin around it, so the countersink should leave the rivet slightly high before driving.
A flush head that slips down into the countersink after driving can indicate failure of the sheet or the rivet, and the rivet must be removed for inspection.
Choosing a microstop for the job
The cage works as a depth stop and keeps the cutter square to the skin. Which cage fits depends on access and cutter size.
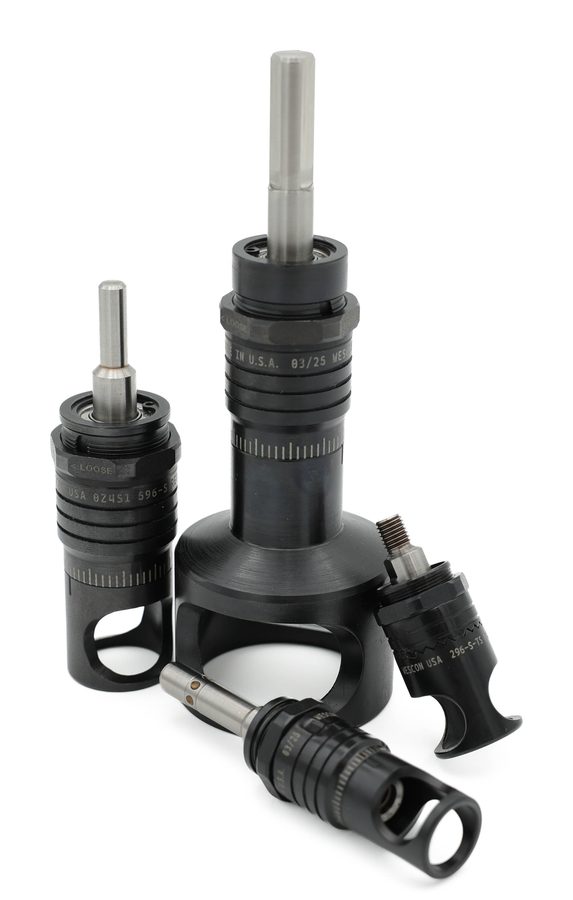
- Straight-in access: the 596 Series Microstop, with 0.0005 inch (0.013 mm) depth steps over 0.300 inch of shaft travel, a solid stop and a dust seal that keeps chips out of the mechanism.
- Tight spaces: the 396 Series, with a 0.688 inch skirt and cutters up to 1/2 inch.
- Holes a straight-in tool cannot reach: the 296 Series fits right-angle drill motors, and the 598 Series has a 10 degree pivoting shaft.
- Large cutters: the 696 Series takes cutters from 7/8 inch to 2 inch capacity on a 3/8 inch shaft.
Match the cutter thread to the cage. The 296 and 396 take 1/4-28 or M6x1 cutters, the 596 and 598 also take M8x1, and the 696 takes 3/8-24, M8x1 or M10x1.
For a detailed comparison of the models, see Choosing Your Microstop.
How to set microstop countersink depth
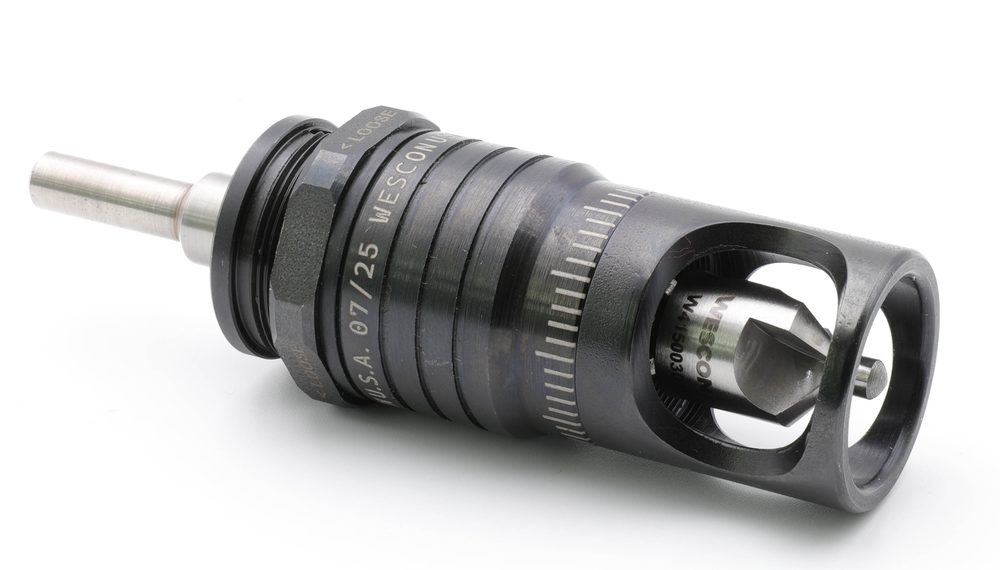
- Fit a cutter whose angle matches the fastener head. 100 degrees is standard for MS20426 rivets.
- Match the pilot to the hole, about 0.002 inch smaller than the hole size.
- Set depth on scrap of the same material and thickness, starting shallow.
- Cut a test hole, drop in the actual rivet or screw and look at the head. A rivet should sit slightly high before driving.
- Adjust a click at a time and cut again until the head sits right.
- On the part, seat the foot flat on the skin, hold the cage firmly and clear chips from the cage and the skin before each hole.
Most microstop cages adjust in 0.001 inch steps, and the 596 in 0.0005 inch steps. Replacement feet and skirts are on the microstop parts page. To keep the foot from marking a finished surface, see How to Prevent Surface Marring During Precision Countersinking.
Frequently asked questions
Why is the 100 degree countersunk head the standard?
The FAA Airframe Handbook says the 100 degree head was adopted as standard because it gives the best compromise between tension and shear strength and flushness. MS20426 rivets use this head, so they need a 100 degree countersink.
How deep can a countersink go?
Only as deep as the head needs to sit flush. Some manufacturers limit countersink depth to 2/3 of the outer sheet thickness, or down to a 0.020 inch minimum shank depth, whichever is greater. The drawing or specification for the part takes priority.
When should I dimple instead of countersinking?
When the skin is thinner than the minimum thickness for machine countersinking. Dimpling removes no metal and gives a stronger joint than a non-flush one. 2024-T3 may crack around the dimple after cold dimpling.
Which countersink cutter works best in aluminum?
A six flute cutter. Three and four flute cutters are harder to control against chatter, and a single flute cutter suits corrosion resistant steel.
Read next
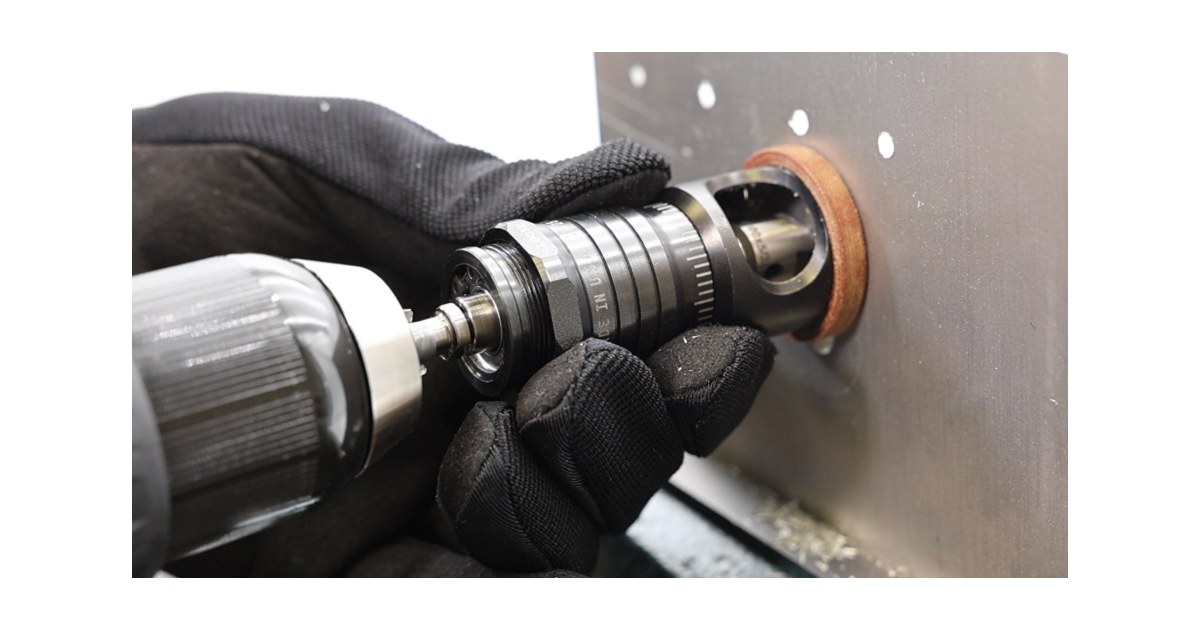 Choosing Your MicrostopCompare models by access, cutter size and foot
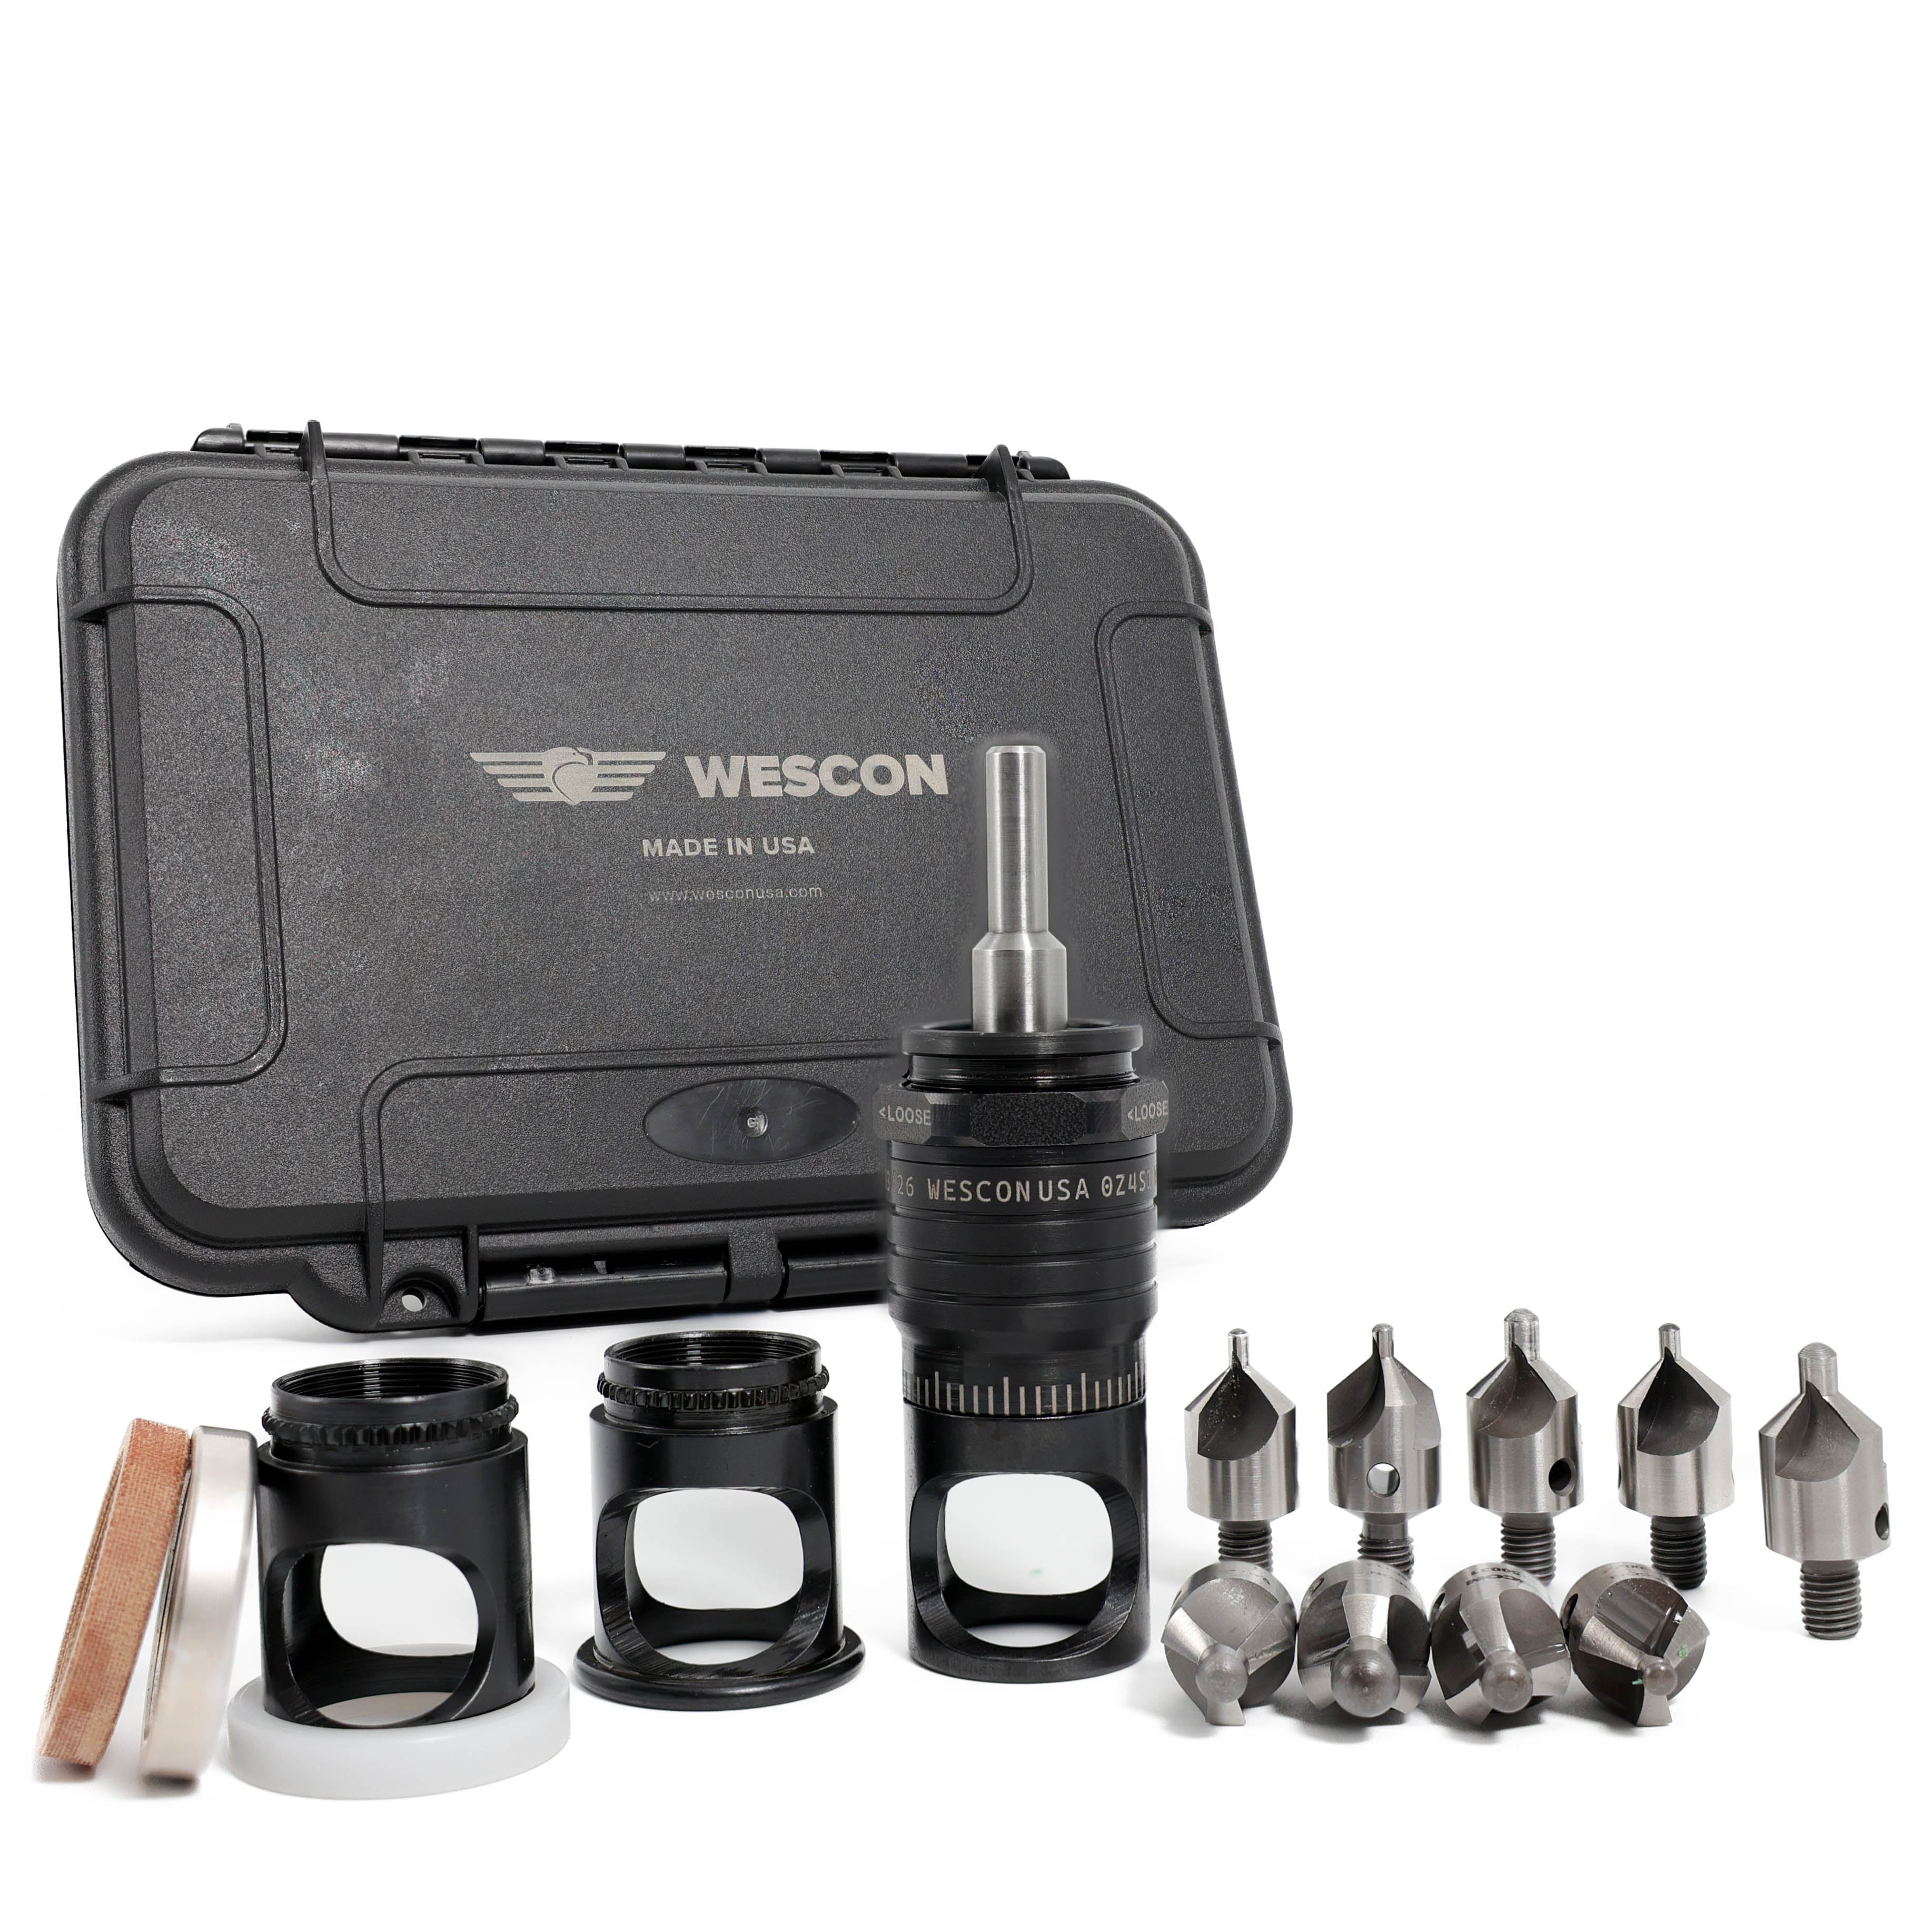 How to Prevent Surface MarringKeep the foot from marking finished surfaces
See the full range of microstop countersink cages, including close quarters, extended reach and stainless steel models.